Eyes setup
Guerilla provides a powerful eye shader to render eyes with a minimal setup. See the
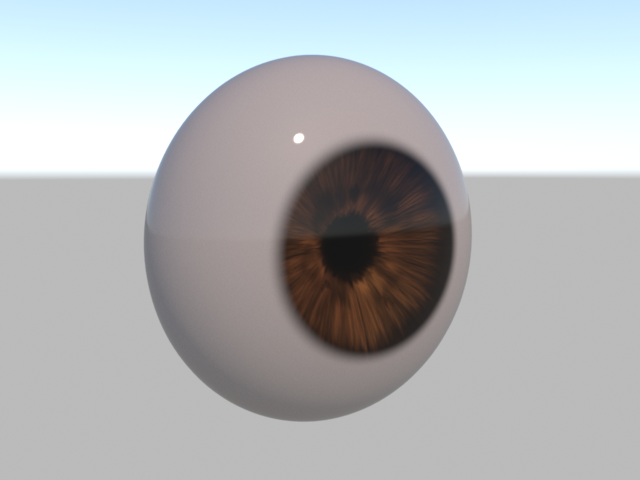
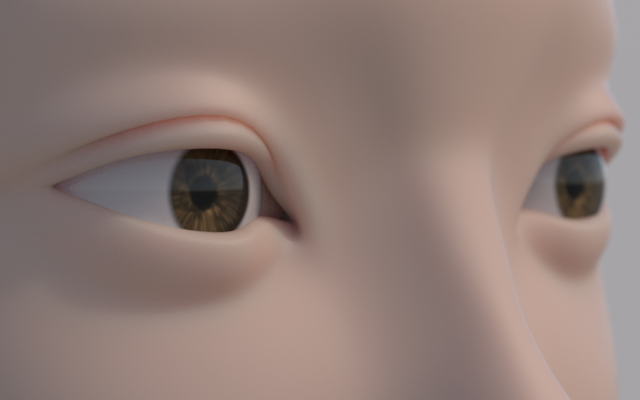
The Eye shader projects the iris texture on the surface of the eye, allowing to use this shader on any type of surface, without any topology or modelling requirement. The shader simulates refraction through the cornea to achieve realistic rendering, without extra geometry.
To perform this projection, the shader uses 3 values, named Center, Front and Up, to define the position and direction of the eye.
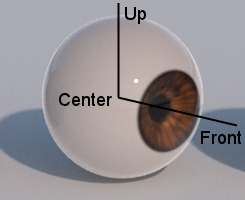
- Center: the position of the center of the eye
- Front: the direction of the eyeball front axis. The iris is aligned on the axis defined by Center and Front.
- Up: the up direction of the eyeball.
These 3 values can be expressed in the eyeball local space, in world space or in Maya world space (which is different from Guerilla world space.) The Front and Up directions can be expressed as a vector or a position.
Basic setup
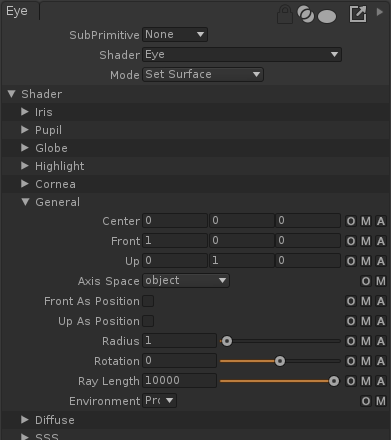
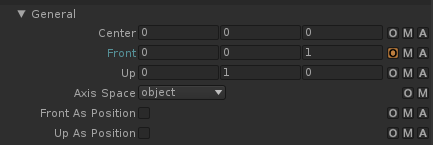
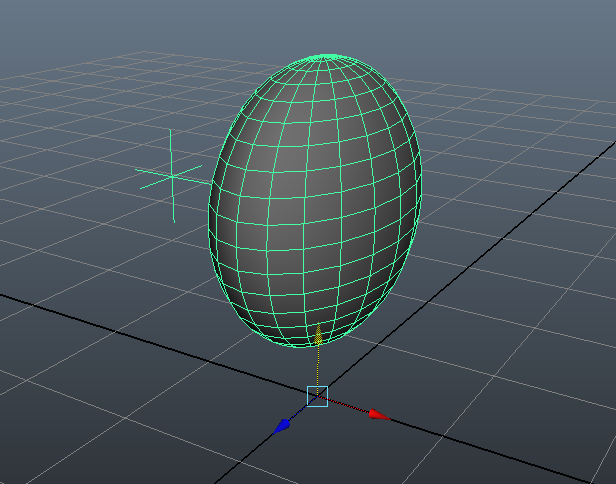
The simplest setup is a spherical eyeball, centered on its transform. The eyeball rotation controls the eye direction. The eye controls are in local space, and eye directions are vectors.
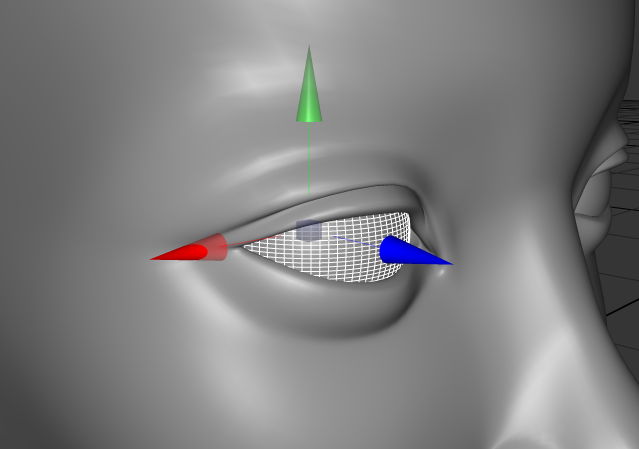
In this example, the Front direction is the Z axis (blue). The Eye shader is set accordingly:
Advanced setup
In case the eyeball is not spherical, or the animation rig does not allow for animating the eyeball orientation freely, you have to provide the Eye shader with the Center, Front and Up direction.
The easiest way is to export the parameters as animated attributes on the eyeball geometry. Guerilla will automatically pick these values from the geometry and transfer them to the Eye shader at render time.
Using Maya export plugin
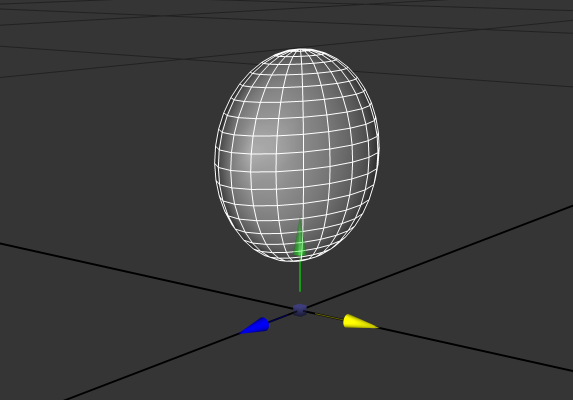
In this example, the eyeball is flattened. This makes it impossible to animate the eye direction by changing its orientation.
The locator at the back of the eyeball is the projection Center. It is not the object center to reduce streching of the iris projection.
- Create locators for the Center, Up and Front.
- Create an extra attribute on the eyeball geometry for Center, Front and Up.
- Connect the locators translation to the eyeball Center, Front and Up.
- Mark these attributes for export using the Attributes To Export menu.

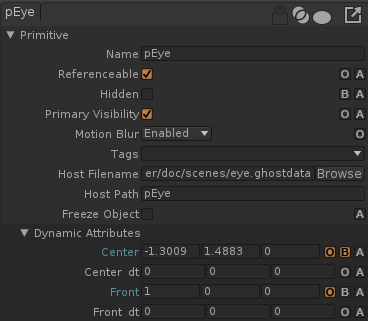
The Center attribute is connected to the locator translation. The Center and Front values are expressed in the object local space. Both Center and Front are marked for export. Up is not exported as it is the default value (Y axis.)
Using Alembic
The Alembic workflow is similar to the Maya workflow. Make sure the Center, Front and Up attributes are correctly set on the Eye transform and marked for baking in the Alembic archive.

For example, using the Maya Alembic exporter, the Center and Front are marked for export.
In Guerilla
The geometry and transforms are exported with the same value.
Set the Axis Space to "maya world", and check the Front As Position and Up As Position, since those values come from locators positions from a Maya world aligned space.
We check that Center and Front are correct. The eye renders like this: